
How to setup Waitlists in bulk?
Bulk uploading lets you create multiple Waitlists at once using an existing file — such as a purchase order — or a simple spreadsheet with product details.
It’s the fastest way to put lots of products live for pre-order, without having to add them one-by-one.
1. Prepare your file
You can upload:
Purchase orders (PDF, Excel, or even images are accepted)
Spreadsheets (XLSX or CSV files)
Our AI model automatically extracts products, SKUs, quantities dates and other values from your document.
You can upload an existing purchase order and let our AI do the heavy-lifting, or you can upload a spreadsheet containing the data in the table below.
Columns with * are optional.
Column | Example | Description |
|---|---|---|
Product Name | Purple Socks | The product name as listed in your store |
Variant SKU code | Socks_001 | The unique SKU for each variant, as used in your store |
Quantity | 25 | Number of units you want to add to the Waitlist |
Earliest Ship Date | Jan 10 2026 | The earliest estimated shipping date |
Latest Ship Date | Jan 20 2026 | The latest estimated shipping date |
Size* | L | The variant's size. Alternatively, use a size grid: one column per size, with the quantity in each cell |
Color* | Deep Purple | The variant's color. Width, Length, Material and Fit are read the same way |
Location* | London Warehouse | The inventory location the Waitlist sells from. Matched against your location names in Purple Dot |
Payment Plan* | 50/50 | The payment plan your shoppers get. Matched against either the plan name ("30% upfront, 70% on shipment") or its shorthand ("30/70") |
Cancellation Policy* | Until scheduled pause | What your shoppers are allowed to cancel. Must match a policy name exactly as Purple Dot shows it, e.g. "Until scheduled pause or if delayed", "Only if delayed", "Never cancellable" |
Labels* | Spring 26 | Drop 1 |
Launch Date* | Jan 2 2026 | The date the Waitlist goes on sale. Only read if scheduled launches are turned on for your store |
Scheduled Pause Date* | Jan 9 2026 | The date the Waitlist stops taking pre-orders. Only read if scheduled pauses are turned on for your store |
💡 Tip: If you don’t have unique SKU codes for each variant in your store, try adding extra columns with the variant information (e.g. size or colour) to improve the matching accuracy
💡 Tip: Keep your shipping dates in separate columns — this helps our AI match them accurately.
2. Upload your file
Click Create Waitlists
Choose Create in bulk
Click Upload a file or drag and drop your document.
Wait a few seconds while our AI reads your file and extracts the key information.
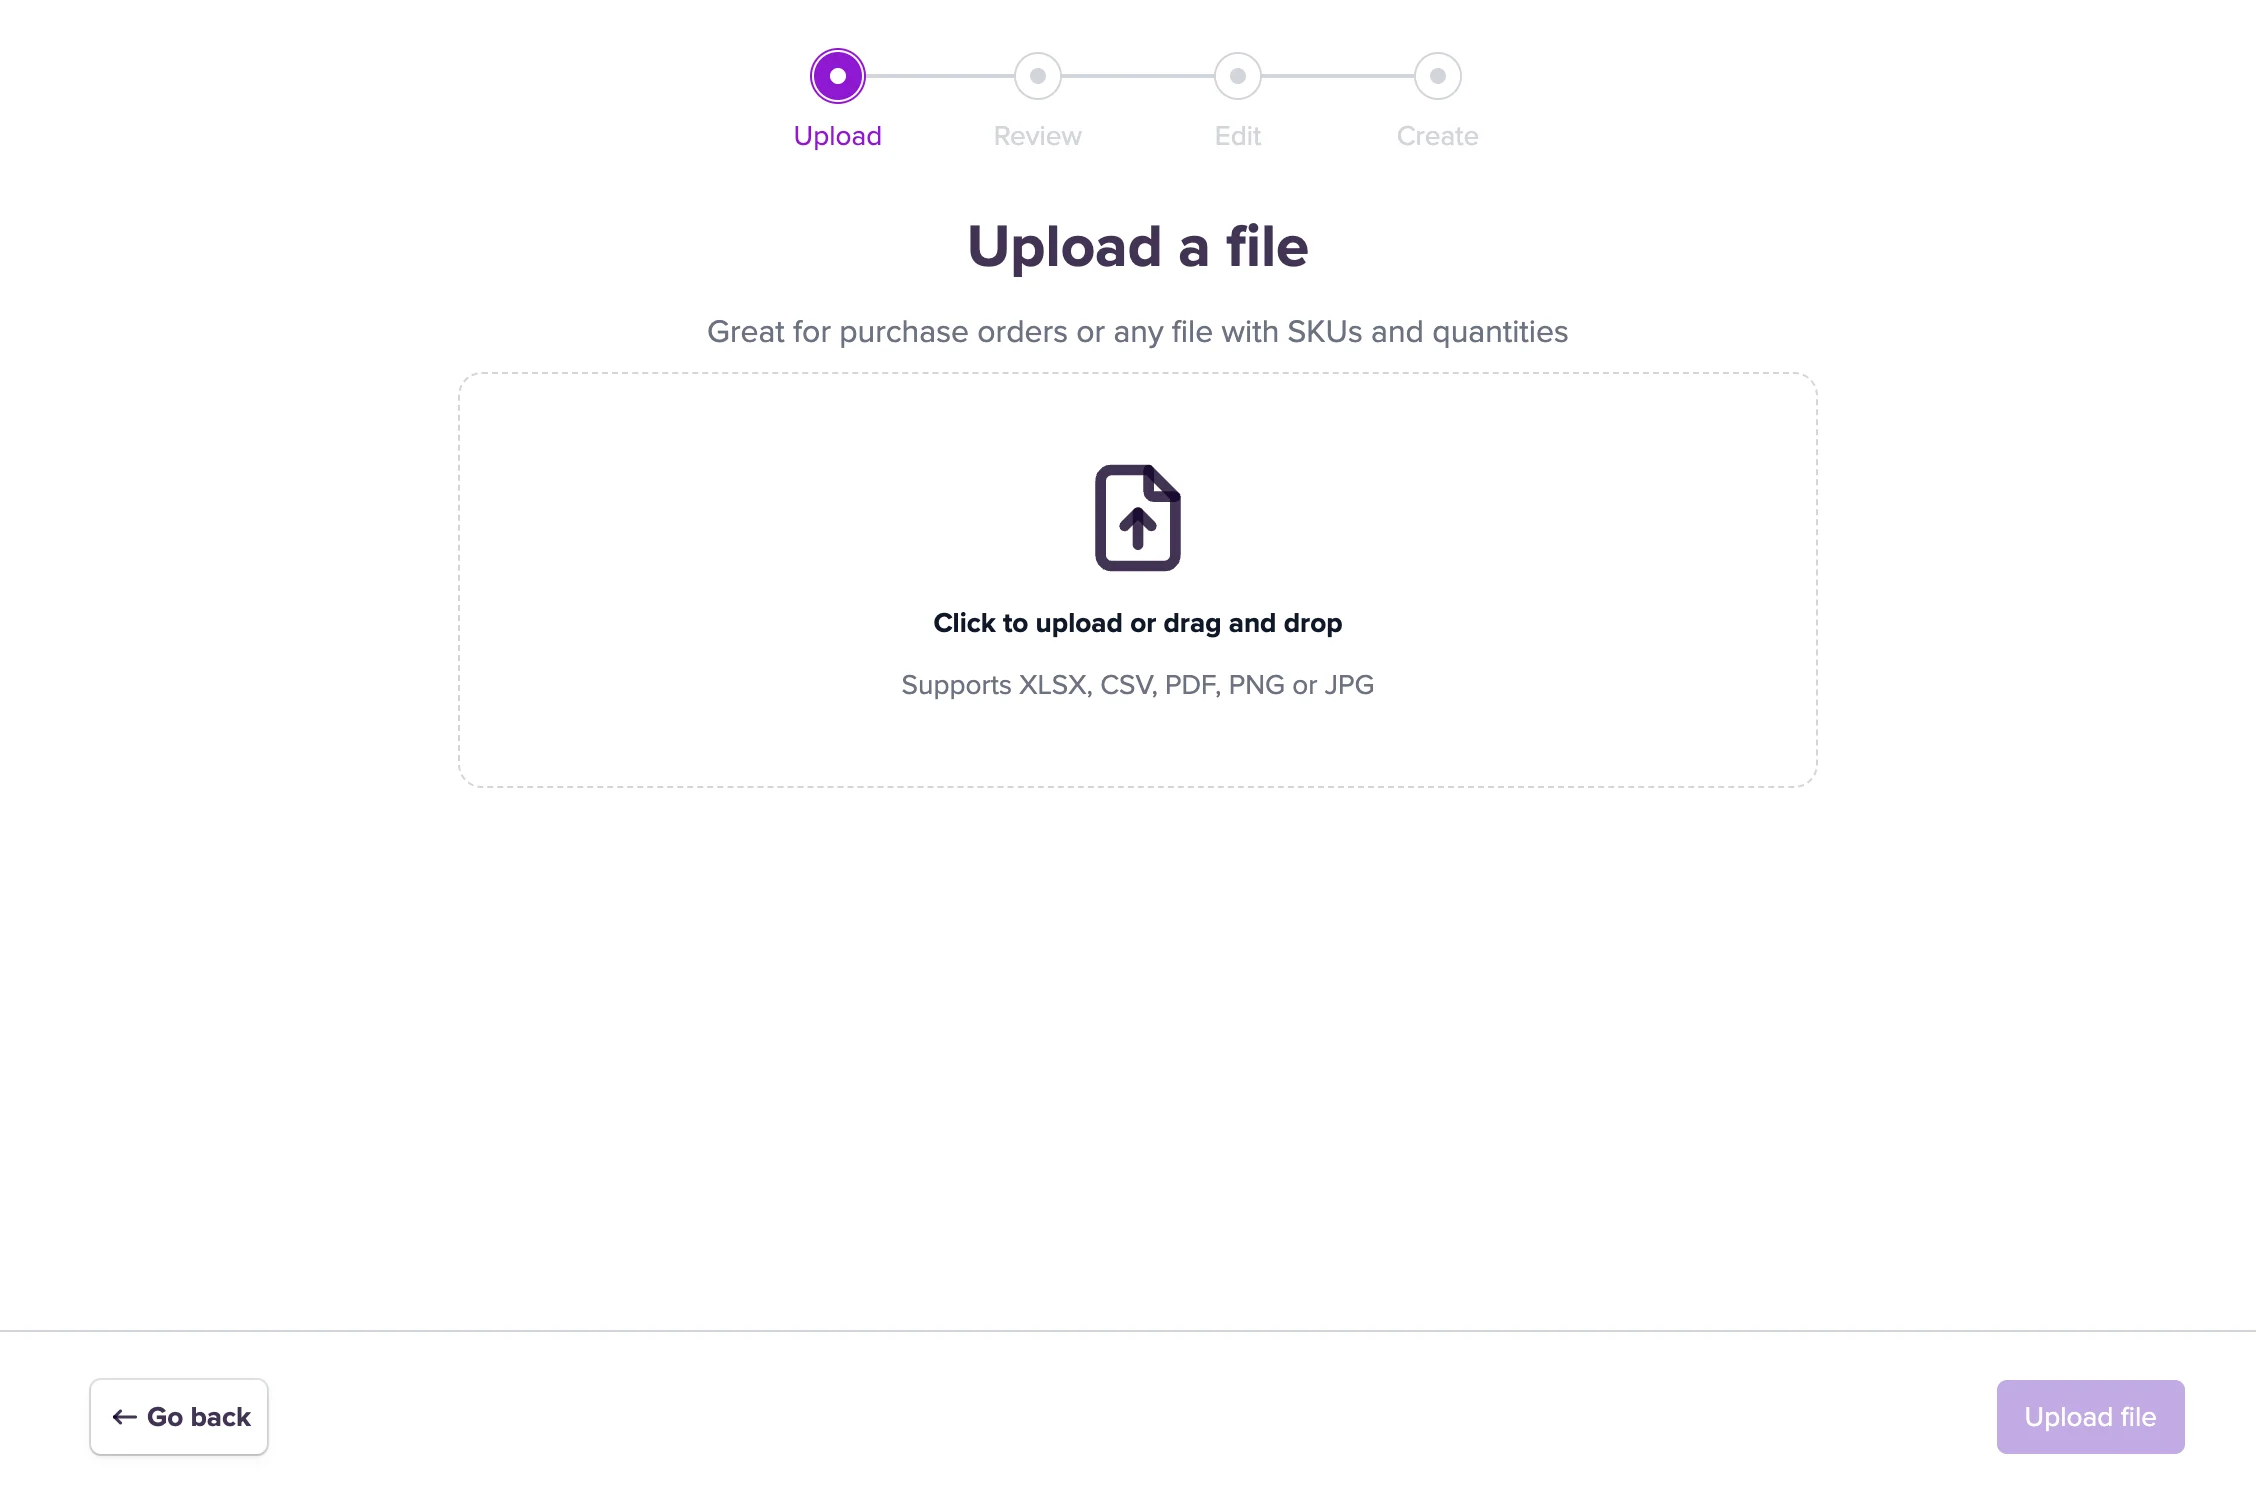
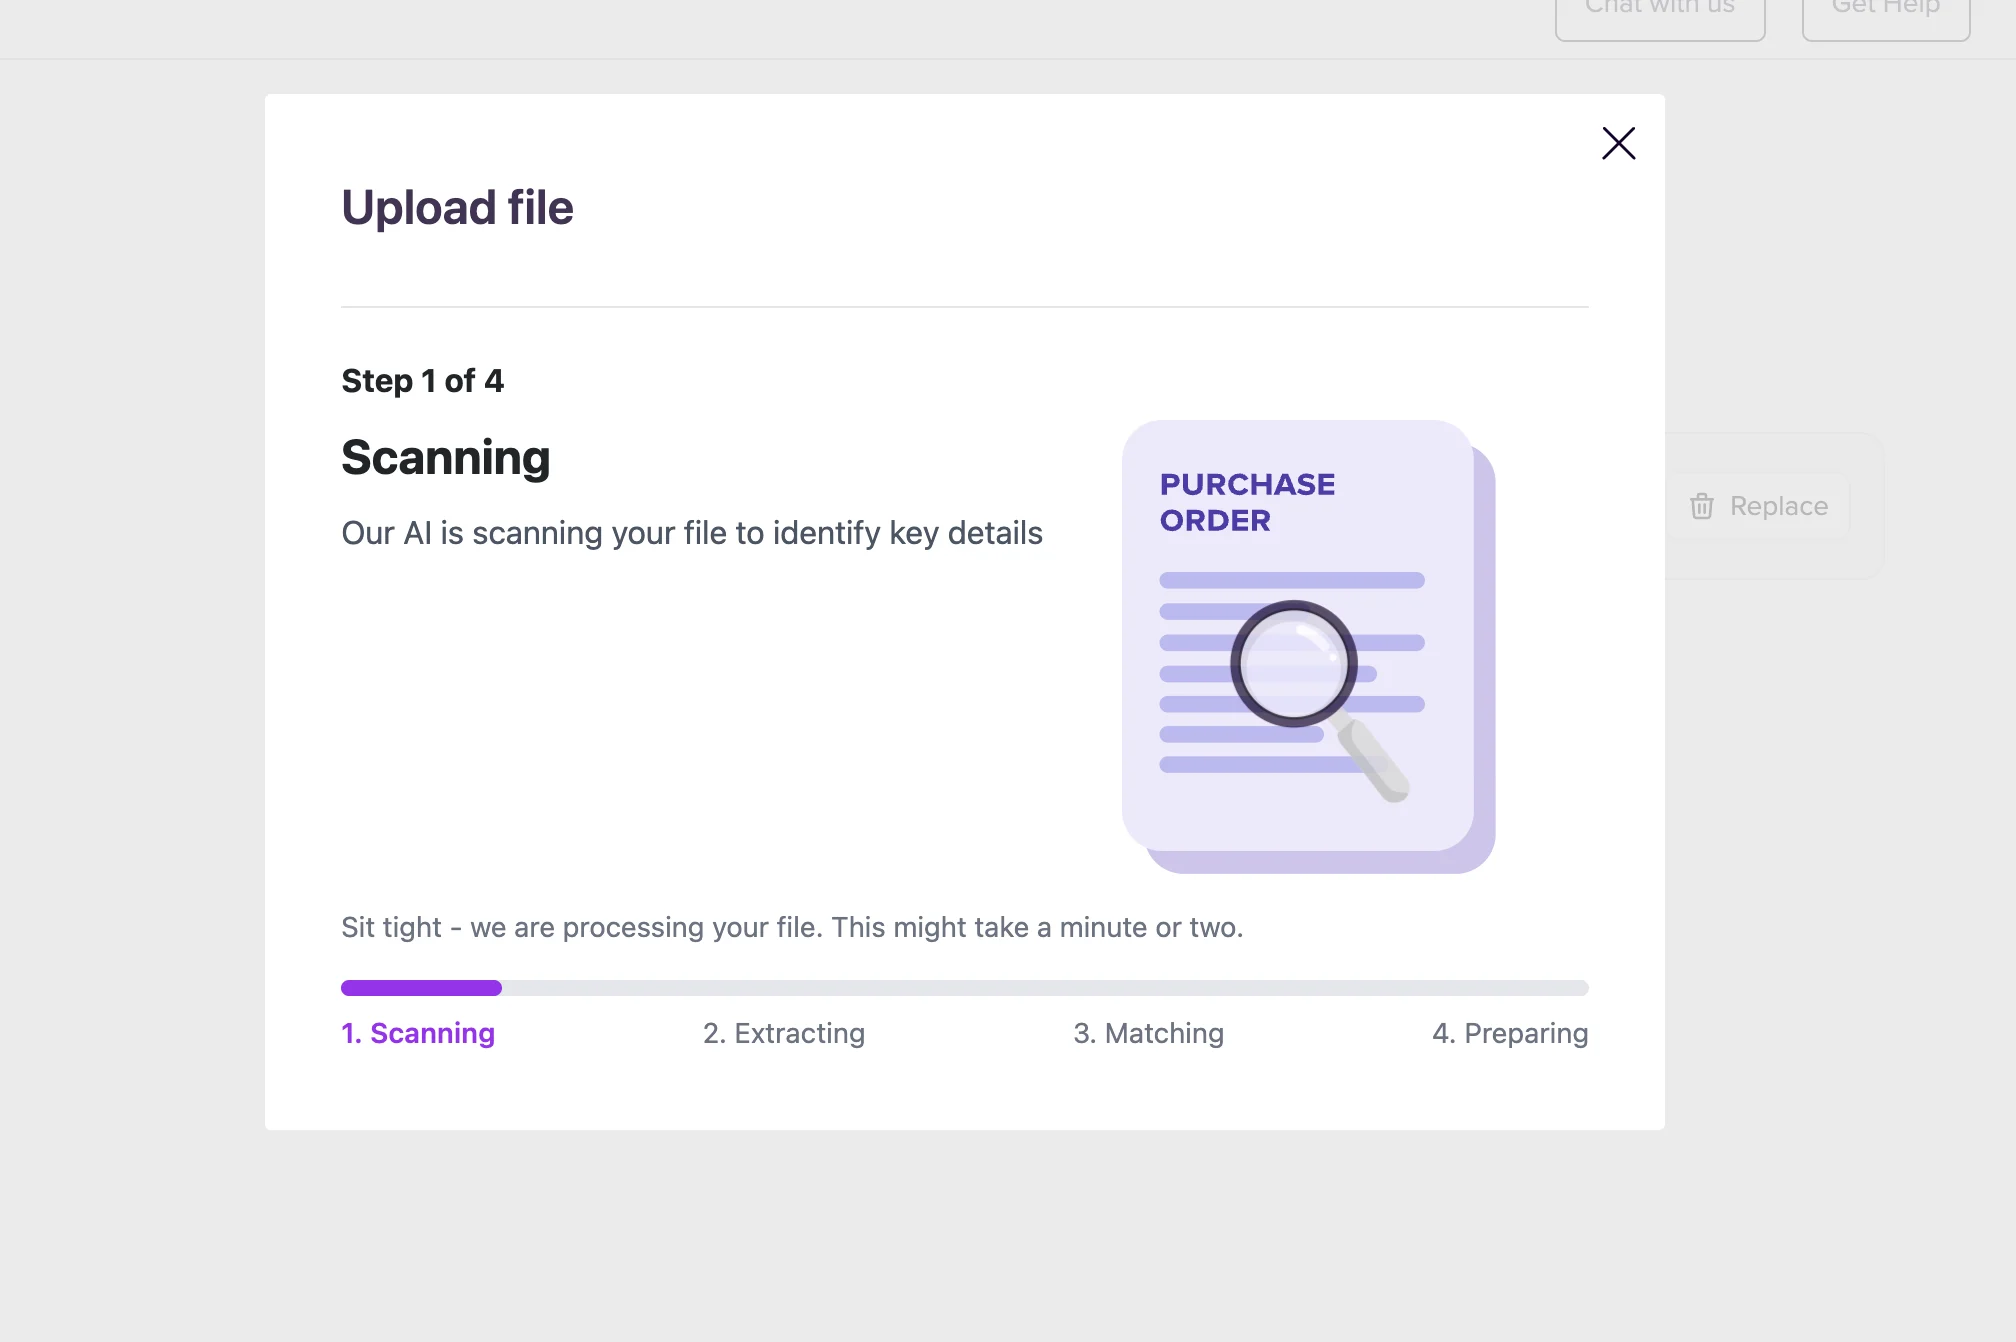
💡 Tip: If the upload processing is taking a long time, try splitting your upload into smaller documents for faster outputs. It usually takes about 30 seconds to process 30 - 50 SKUs.
3. Review your matches
Our AI will have automatically matched the products in your file to the products in your store.
You’ll then be able to:
See a summary of the products, variants and units extracted
Fix any variants our AI model couldn’t match
Correct any other matches before continuing
You’ll be able to finalise your quantities and Waitlist details at the next step.
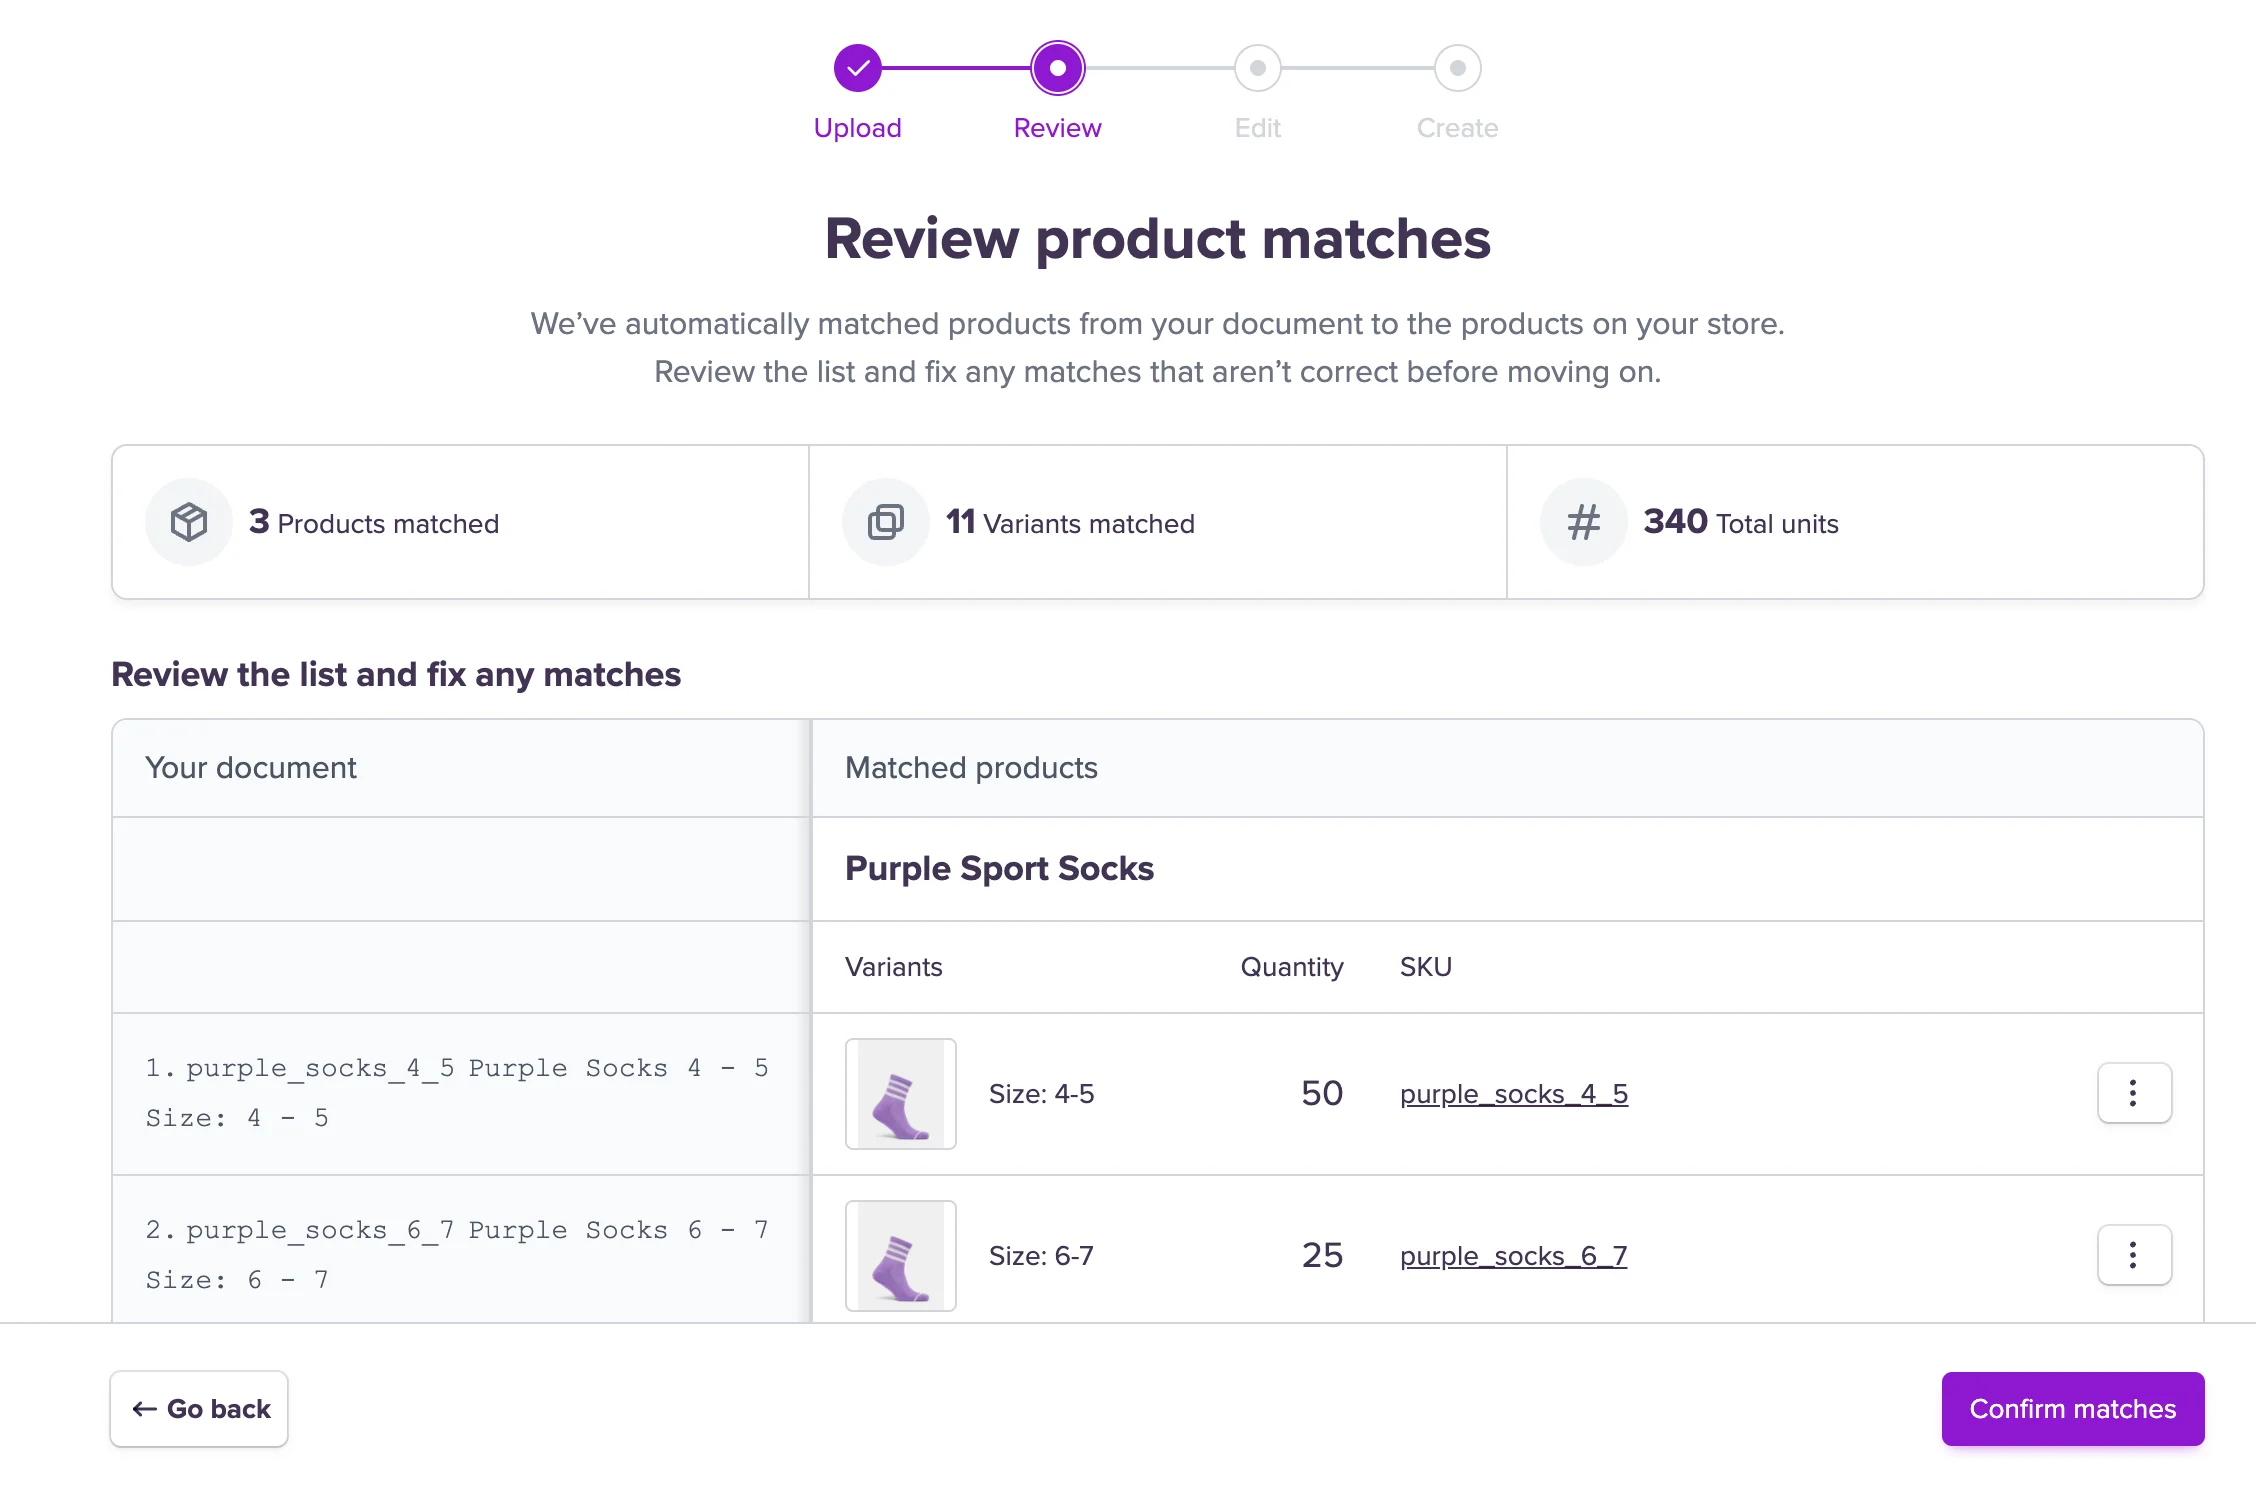
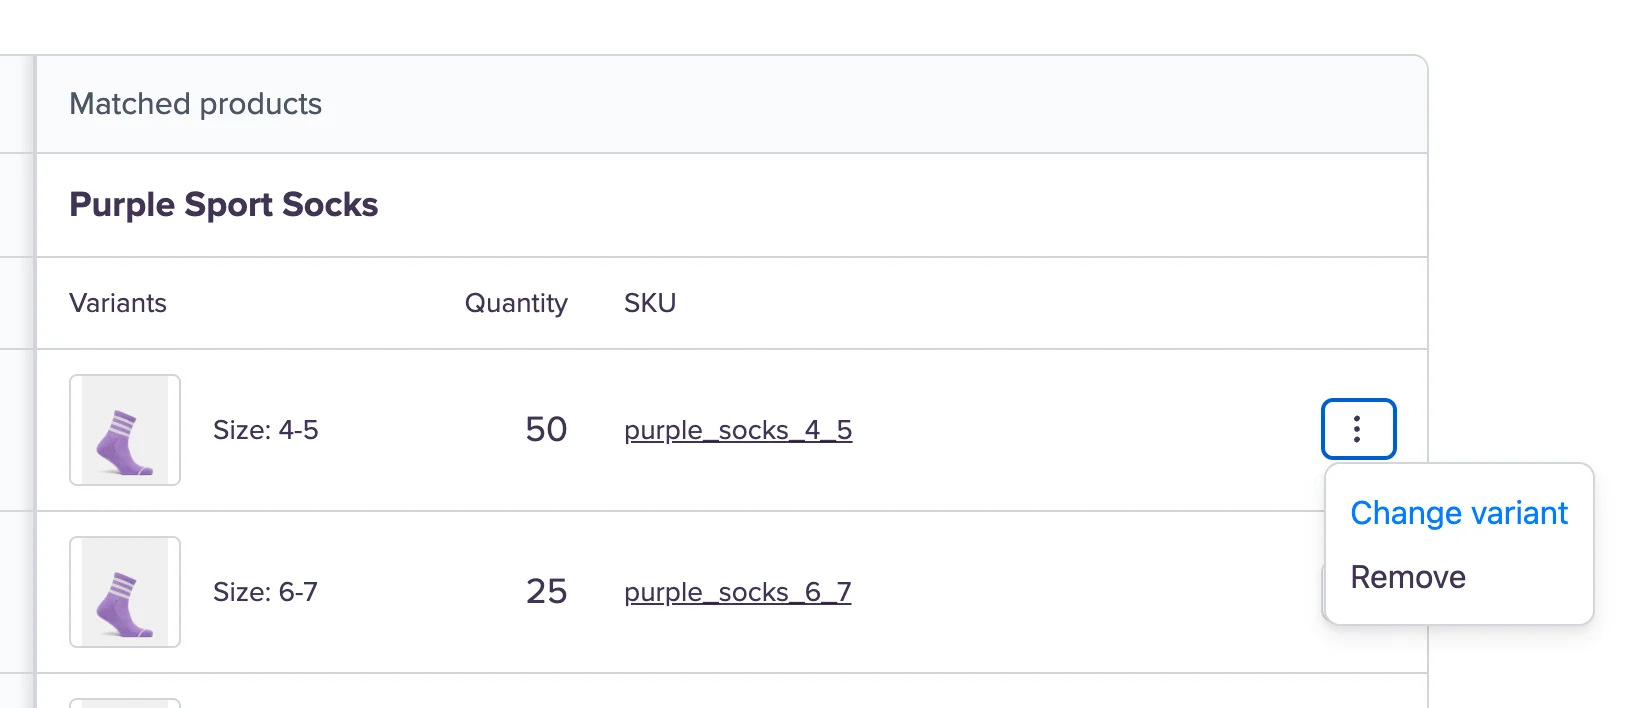
💡 Tip: For any unmatched or mismatched products, try copying the SKU number or product name from the “Your document” column and entering it within the “Change variant” search.
4. Edit and confirm Waitlist details
Next, you’ll edit Waitlist details — like shipping dates, labels, and quantities — before creating them. We'll have pulled through some of this information automatically.
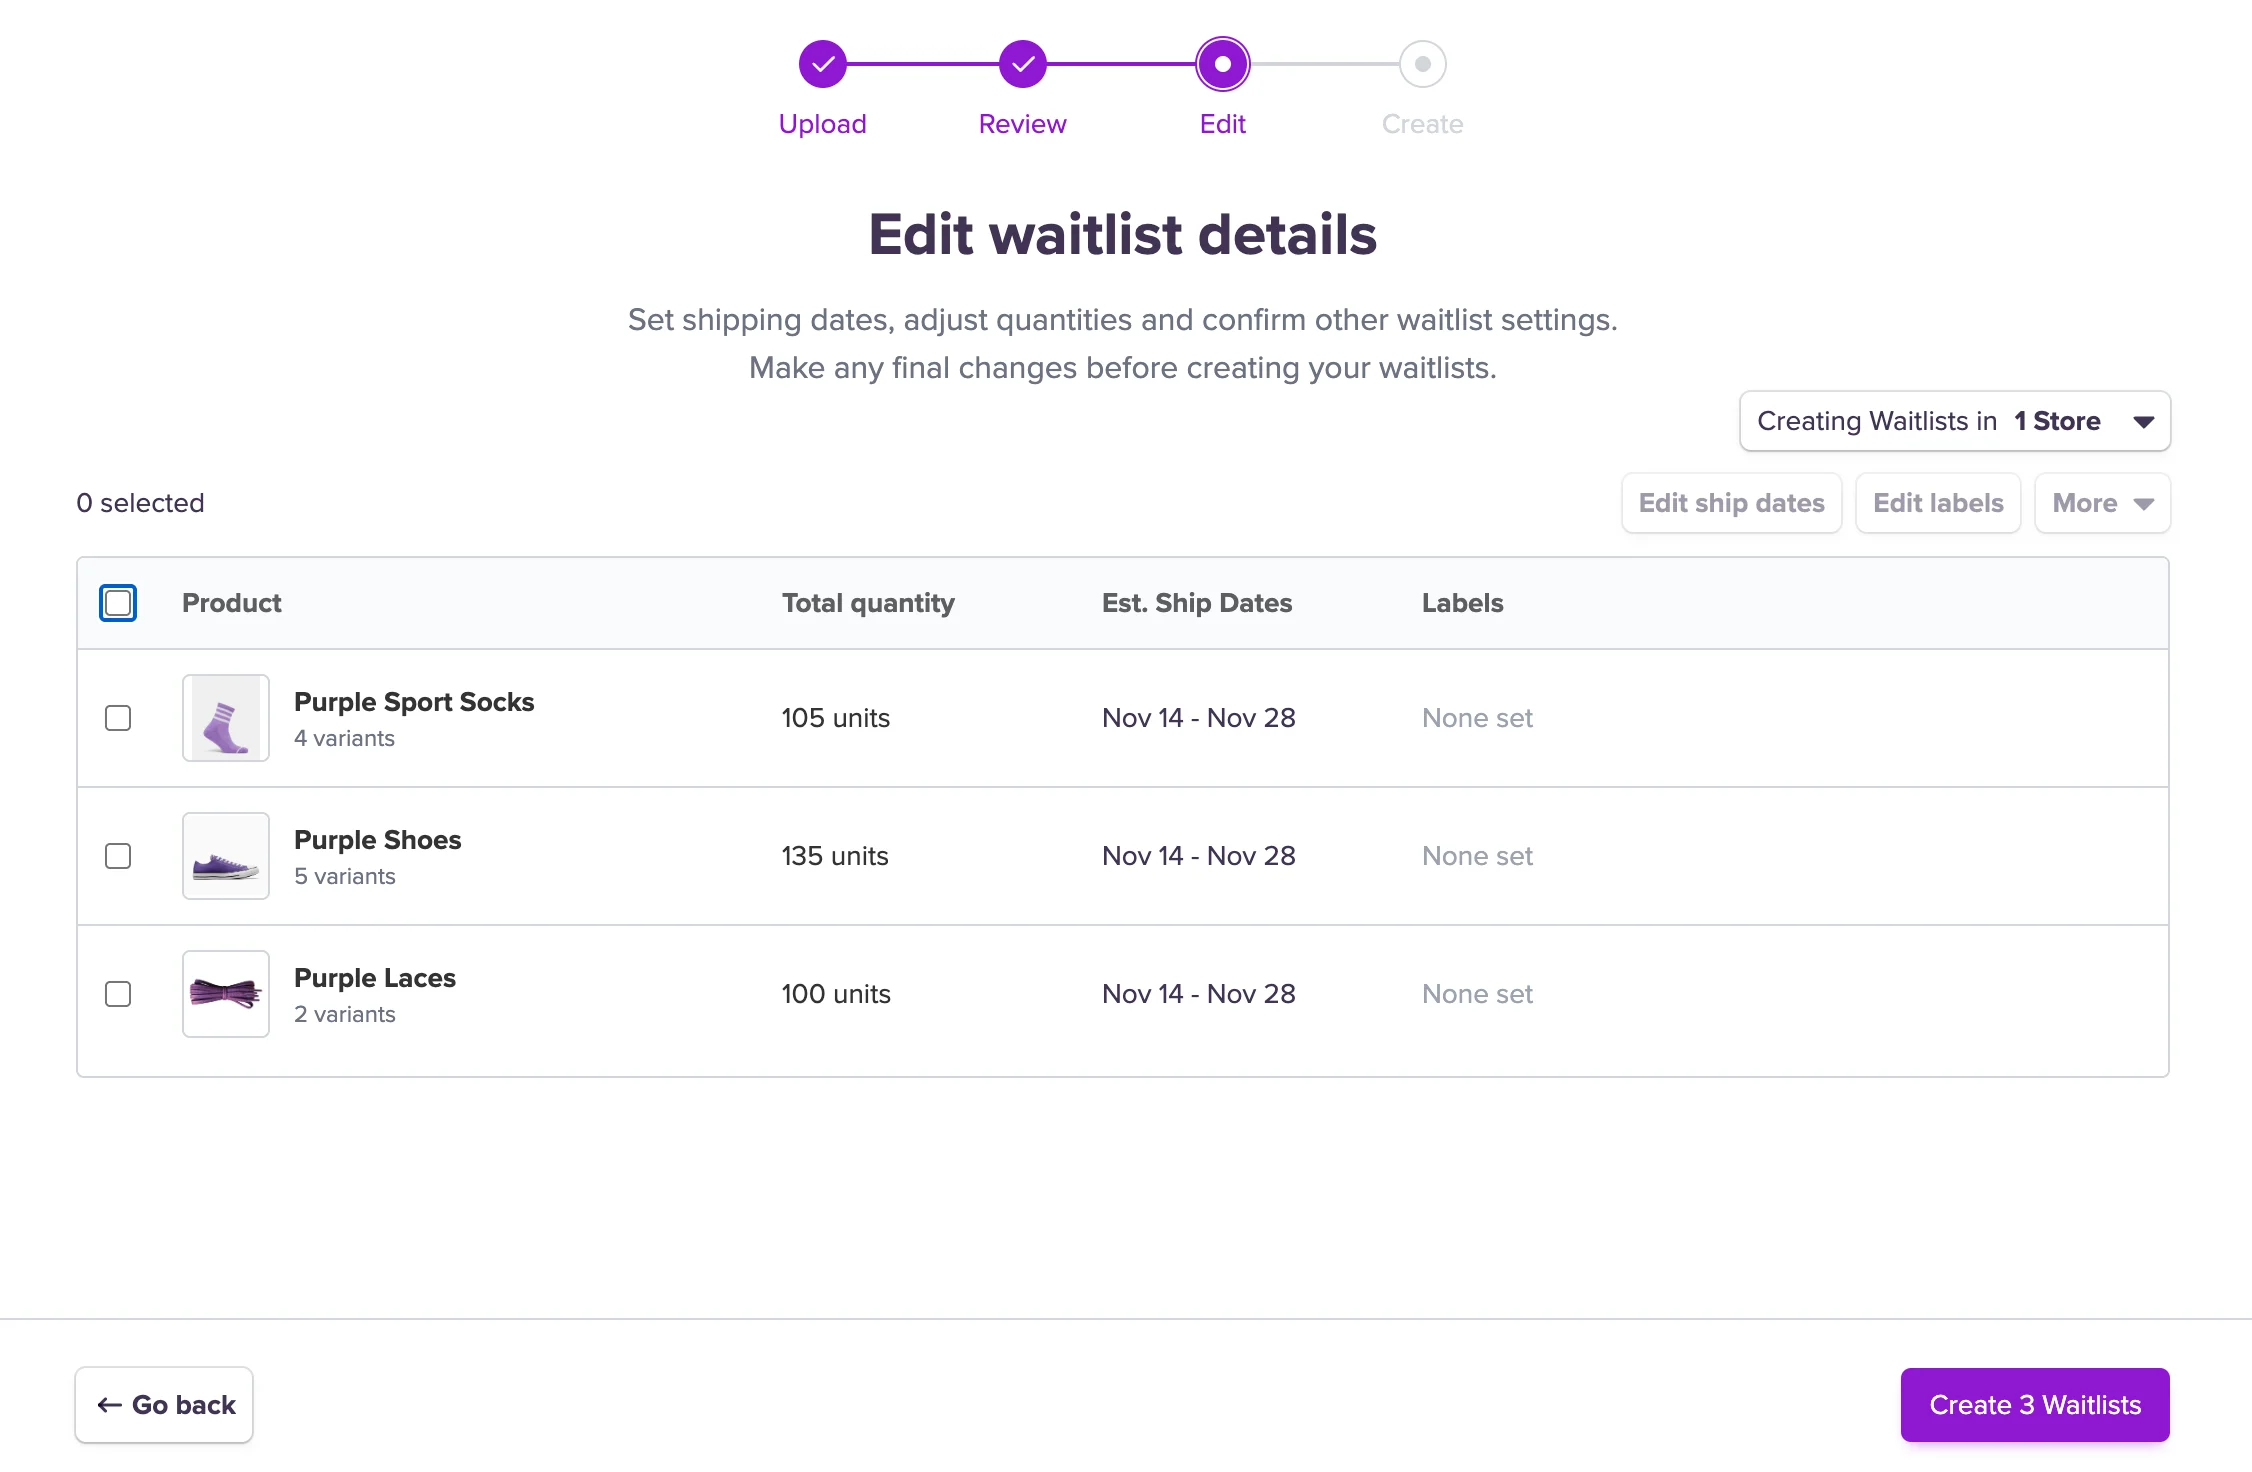
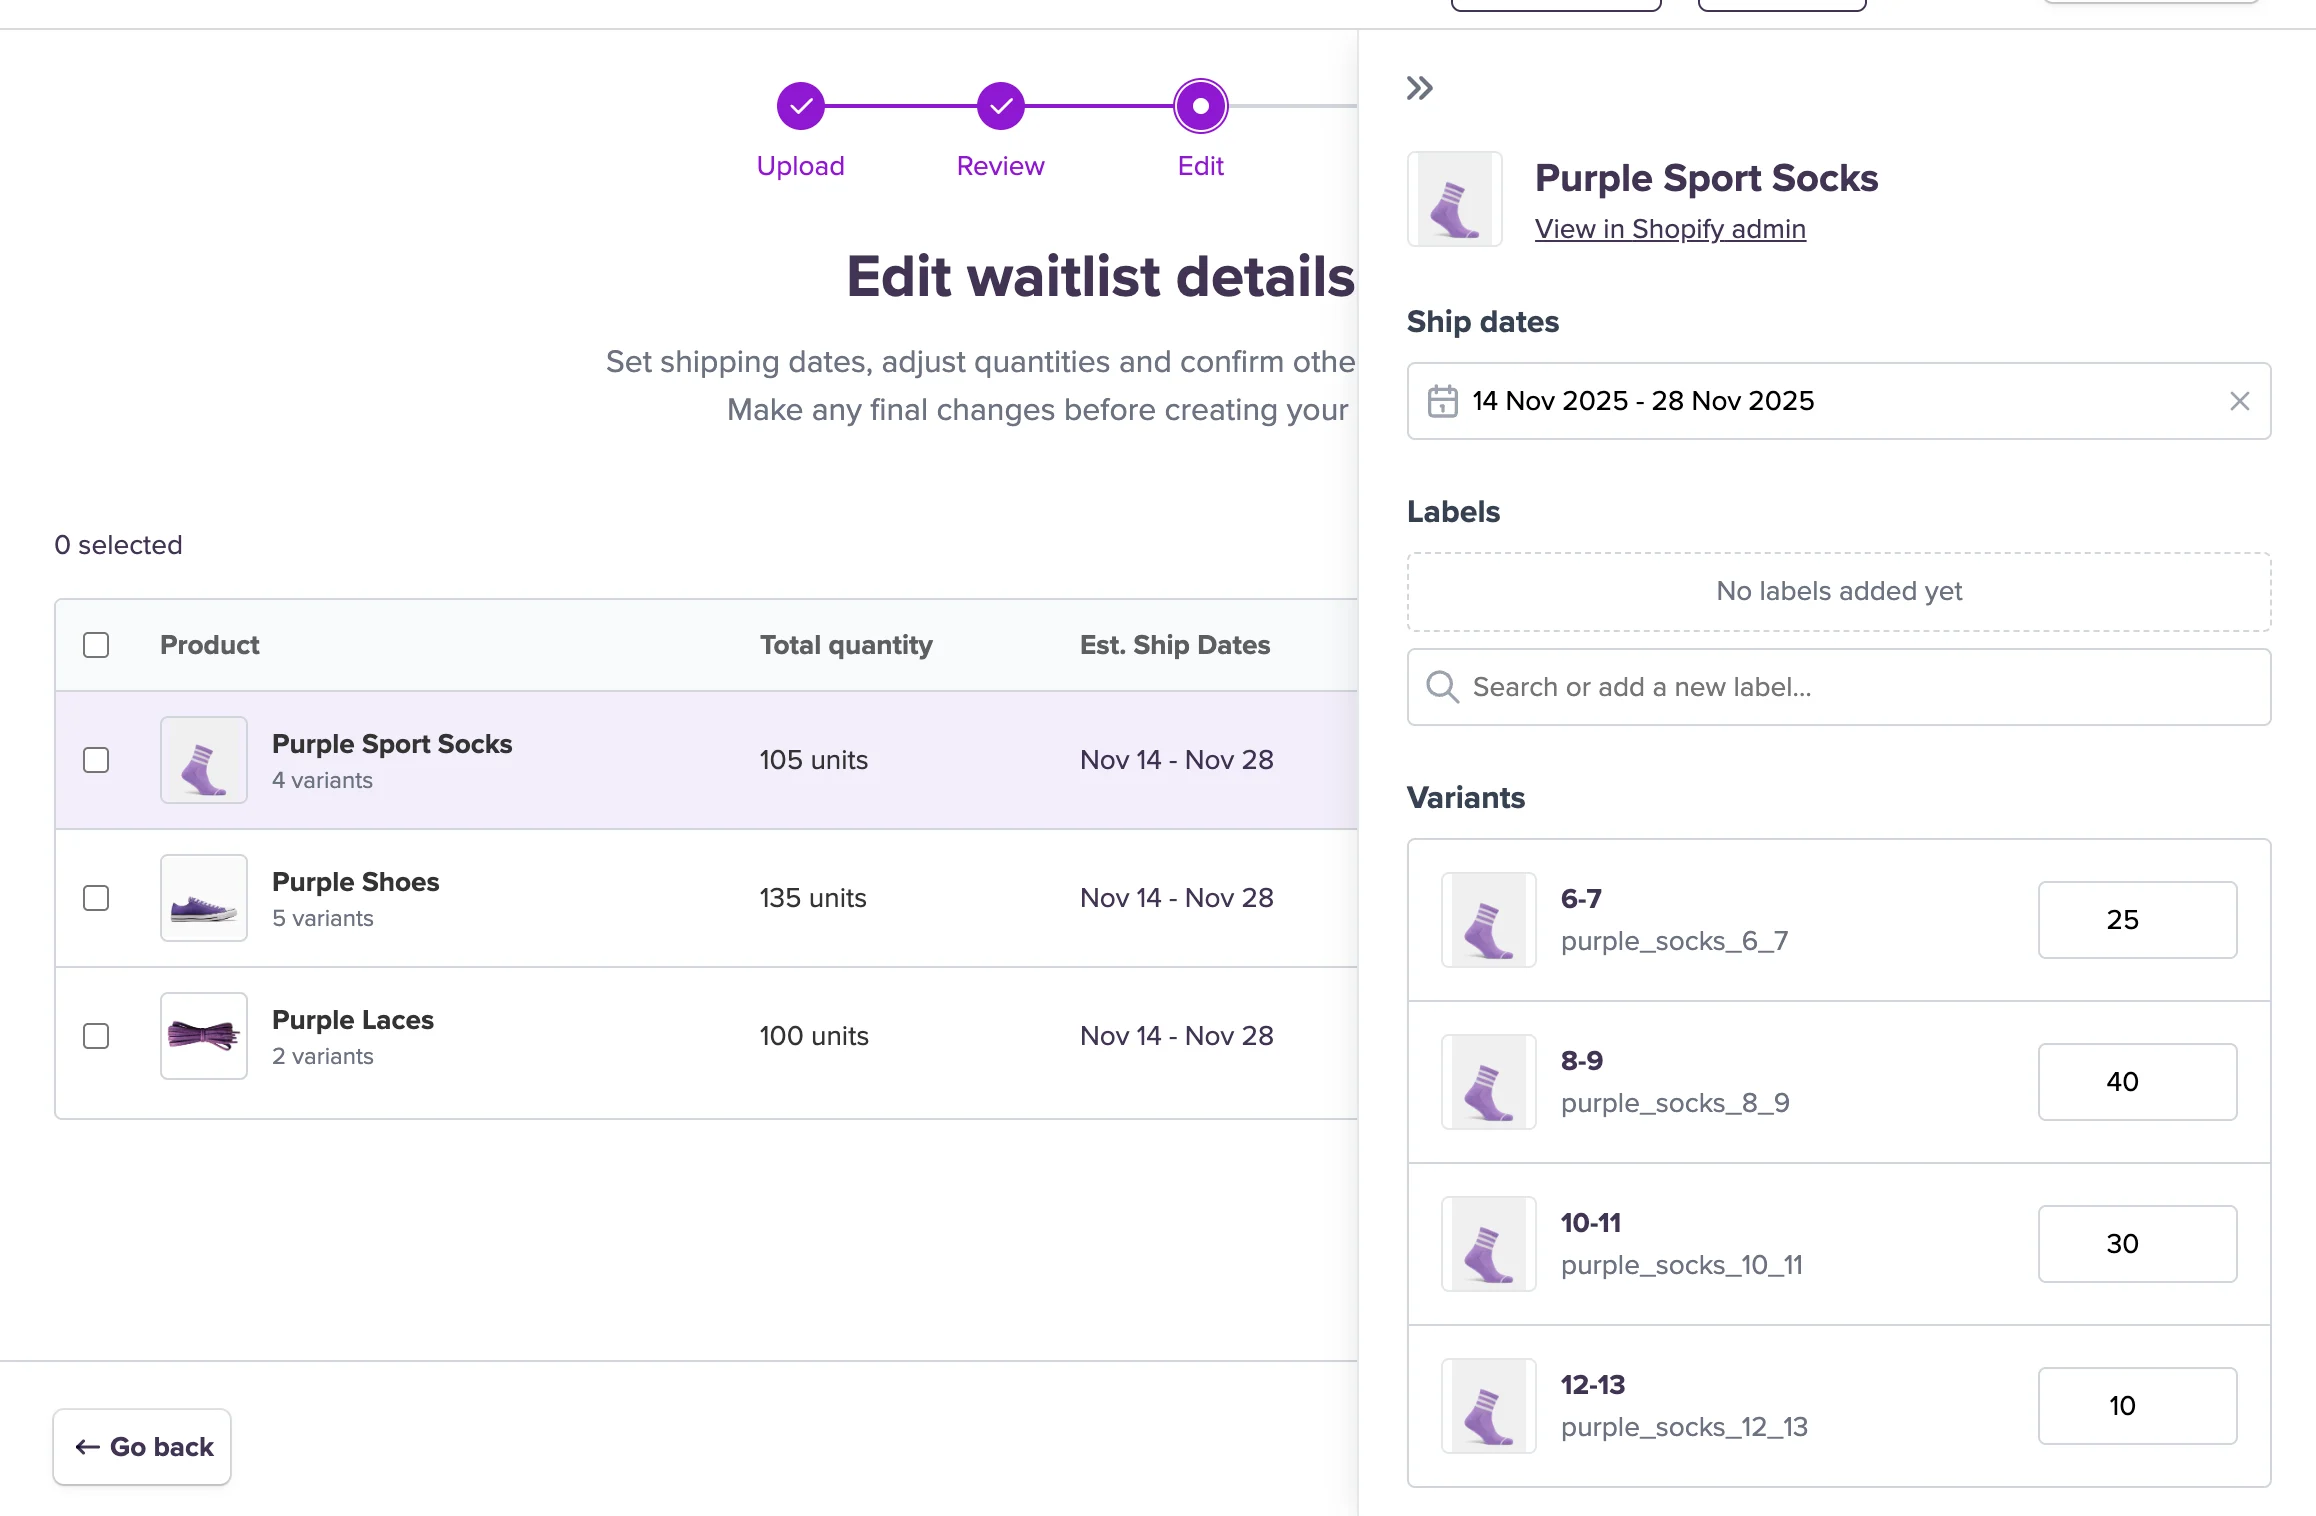
You can click into a row to open up the Waitlist details and adjust any of the settings manually.
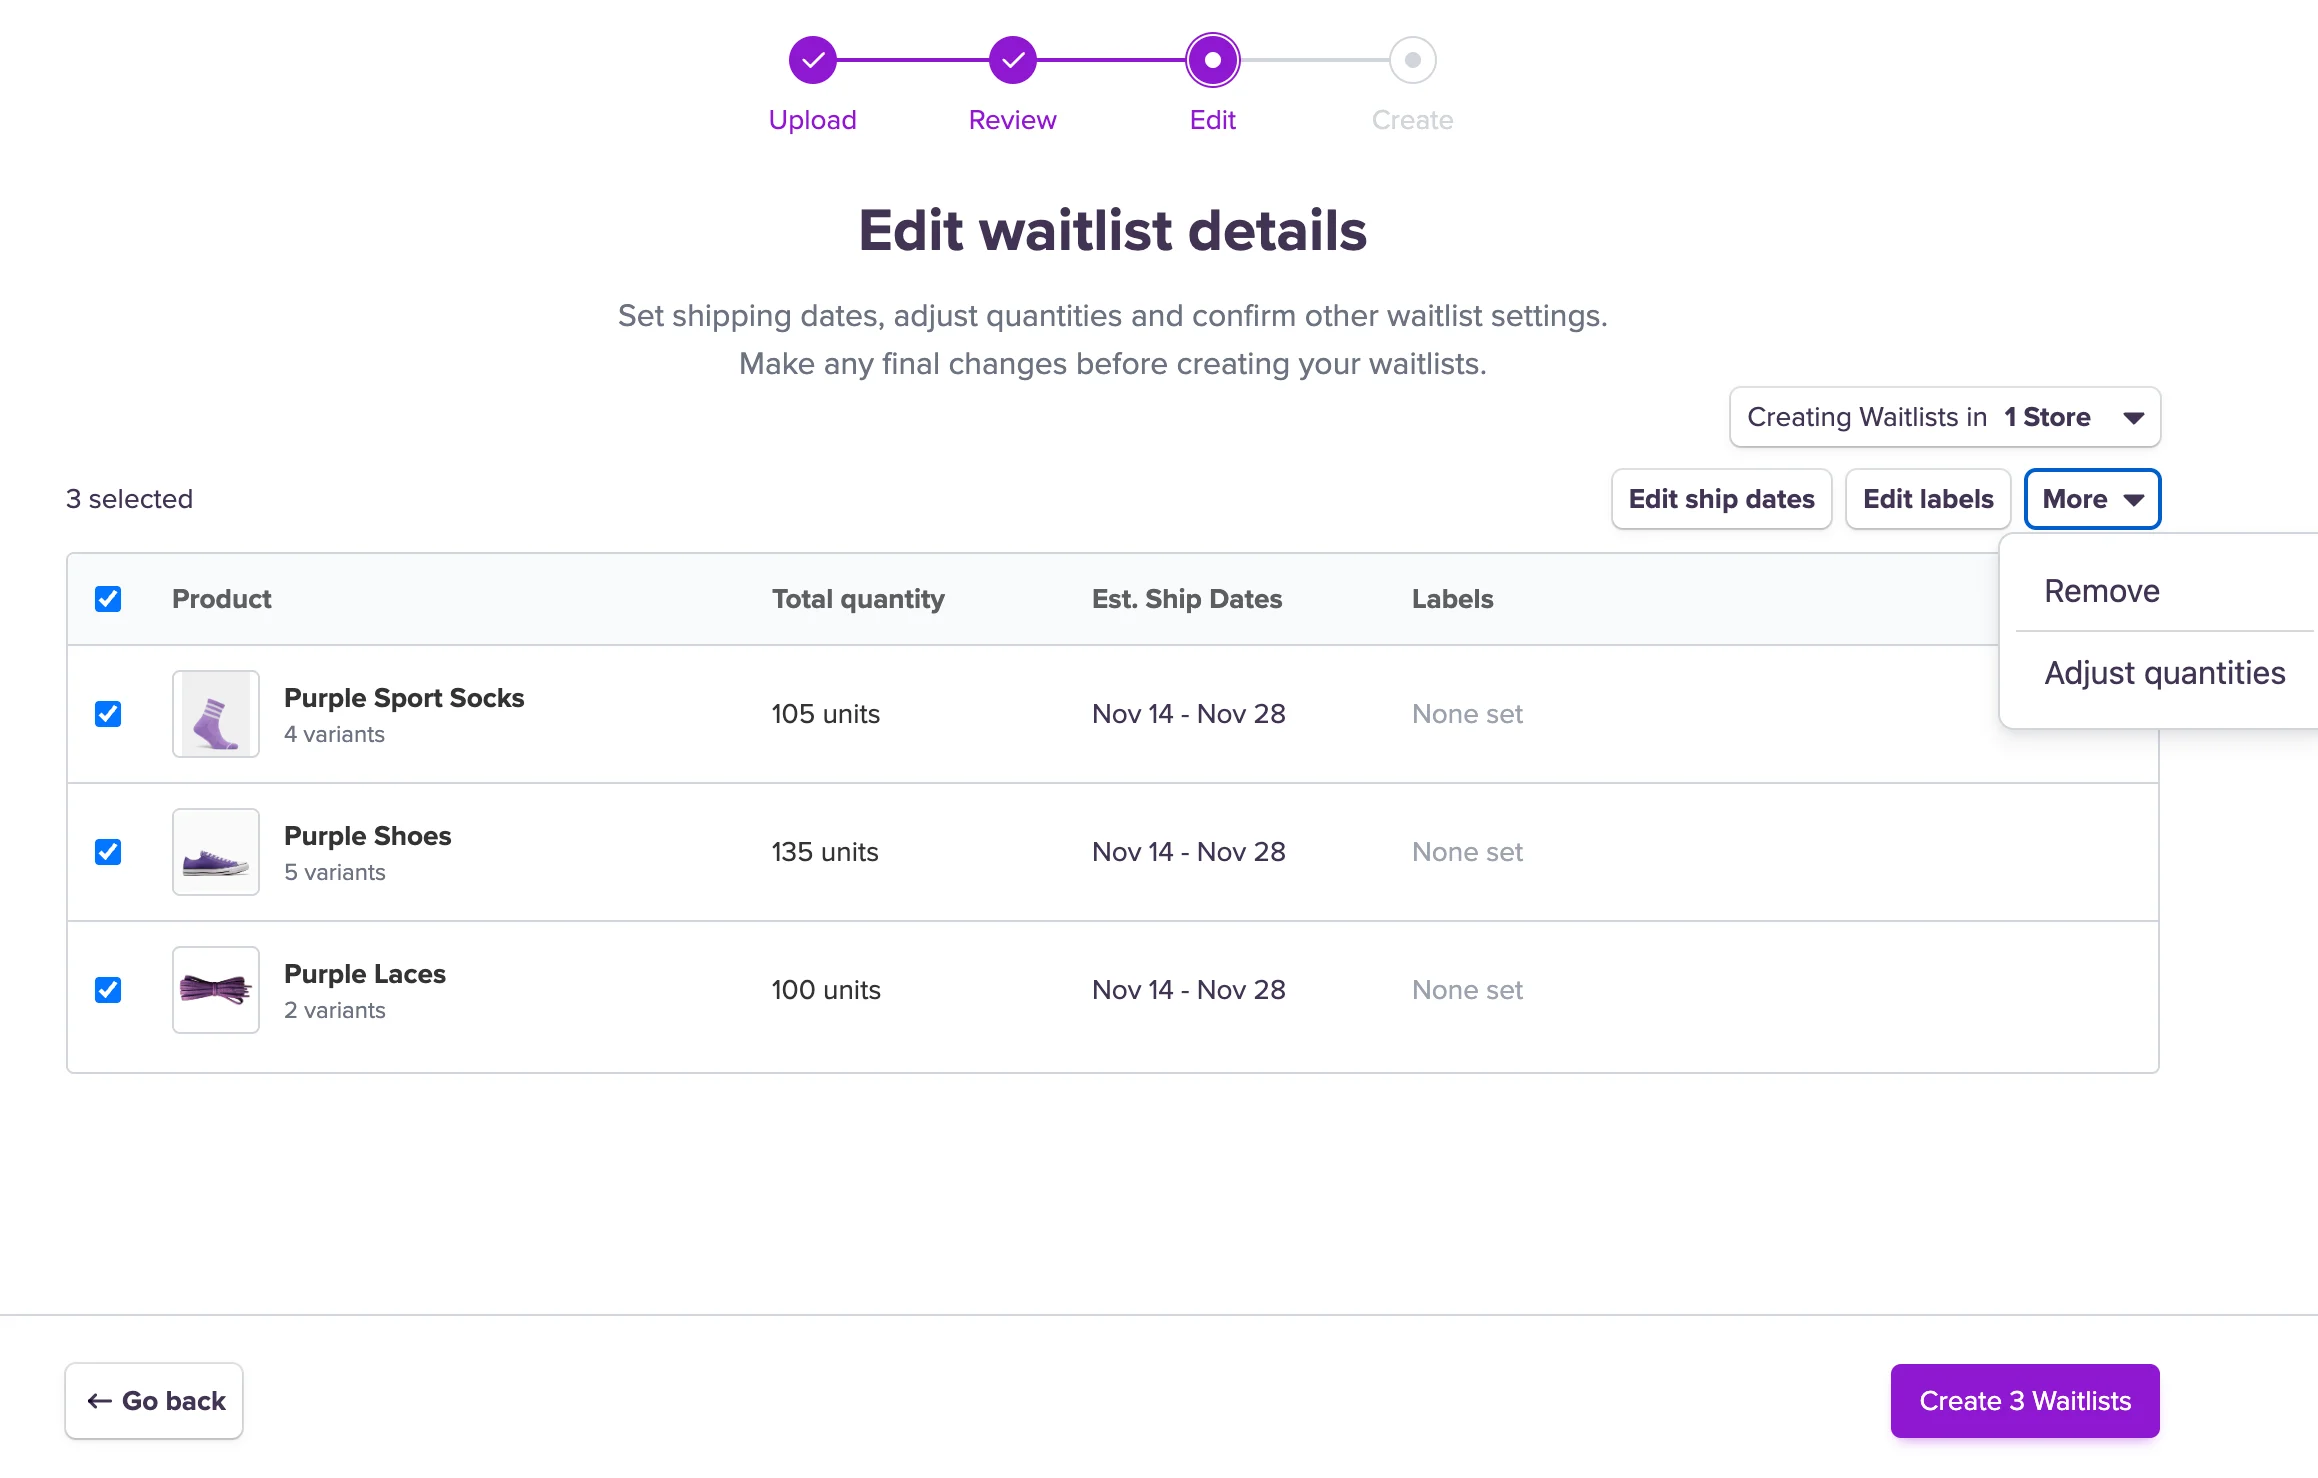
You can also edit the details for multiple Waitlists at once by selecting the relevant Products from the list and using the bulk actions.
💡 Tip: Try adding your purchase order or shipment number as a label - it makes it easier to track and update your Waitlists once they’re live.
💡 Tip: The "Adjust quantities" feature is useful if you’ve uploaded a purchase order and only want to put a % of your incoming inventory on pre-order.
💡 Tip: If you want to share the Waitlists and inventory across multiple storefronts, just select the relevant stores from the “Creating Waitlists in…” list.
5. Create your waitlists
When everything looks good, click Create Waitlists.
We’ll confirm once your waitlists have been successfully created.
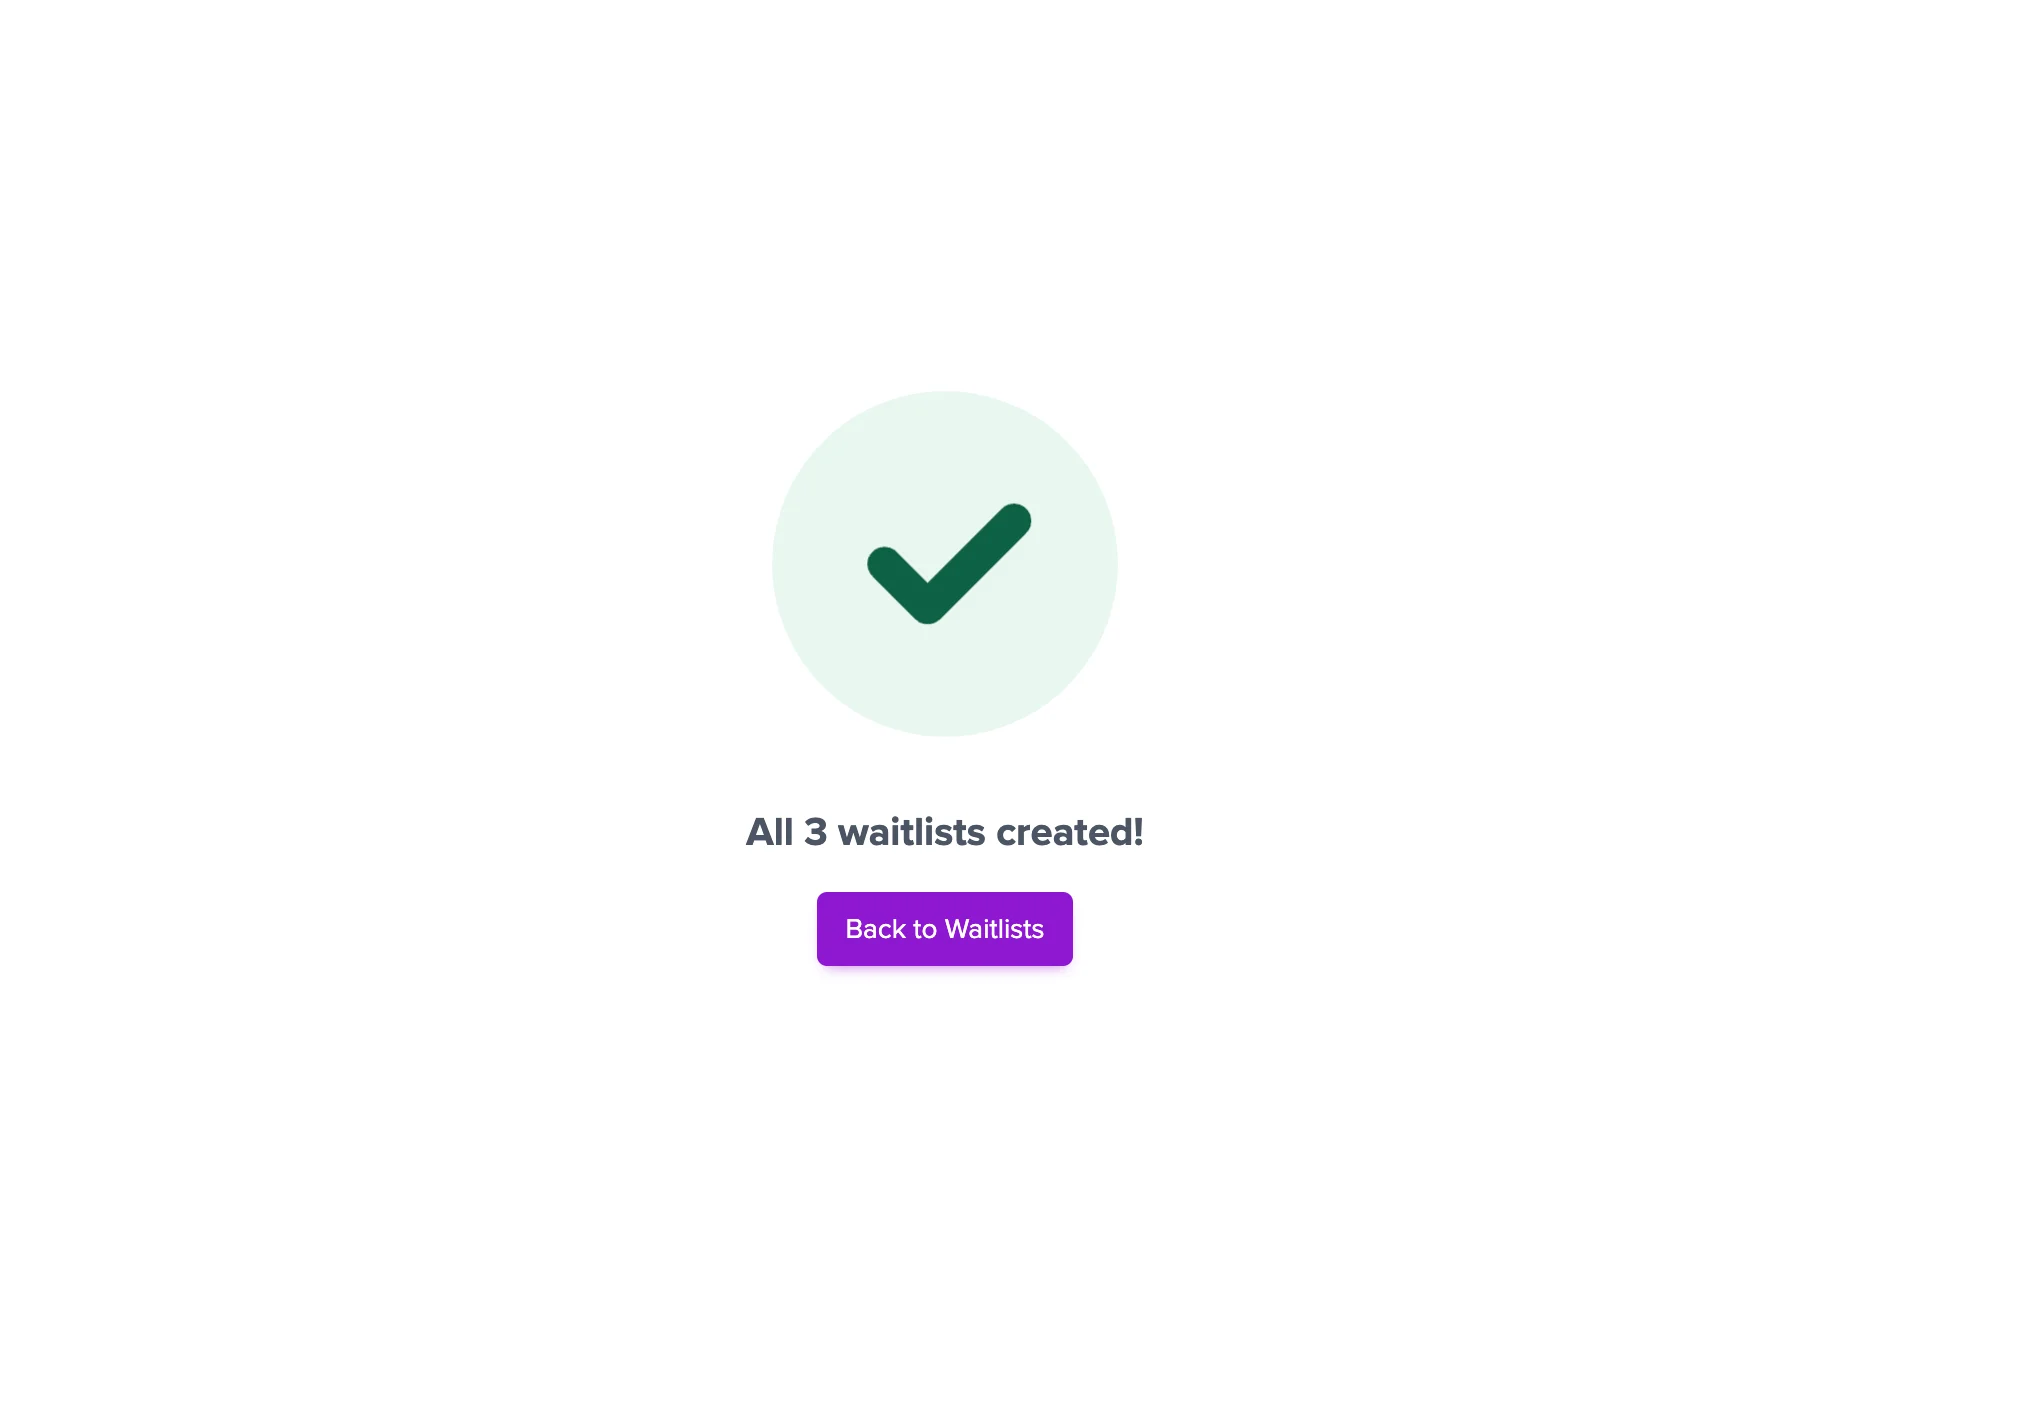
✅ That’s it
You’ve bulk uploaded your Waitlists!
If you’re not sure where to start, try using our Excel template below, or check out the sample purchase order as inspiration for the types of document you can upload.
📎 Bulk Waitlist Upload Example.csv
📎 Purchase Order Upload Example.pdf
If you have trouble with your upload or questions on the best file formats, reach out to our support team, who can guide you through it - we’re happy to help!