
How to use Vertex with Purple Dot
Shopify stores
How you need to use Purple Dot with Vertex depends on whether Purple Dot is integrated into your Shopify store as separate checkout or as a payment provider inside Shopify's checkout. See more here to learn about these two options.
As payment provider inside Shopify checkout
No extra setup is required. The same taxes that already work for your regular sales will work for pre-orders also.
As separate checkout
The Purple Dot checkout can use the same tax rules as your regular checkout. All you have to do is
connect Purple Dot to your Vertex account
configure some/all tax zones in Purple Dot to use Vertex
Connecting to Vertex
Log in to the Purple Dot Merchant Portal.
Go to Settings → Integrations.
Under Tax, click Connect for Vertex.
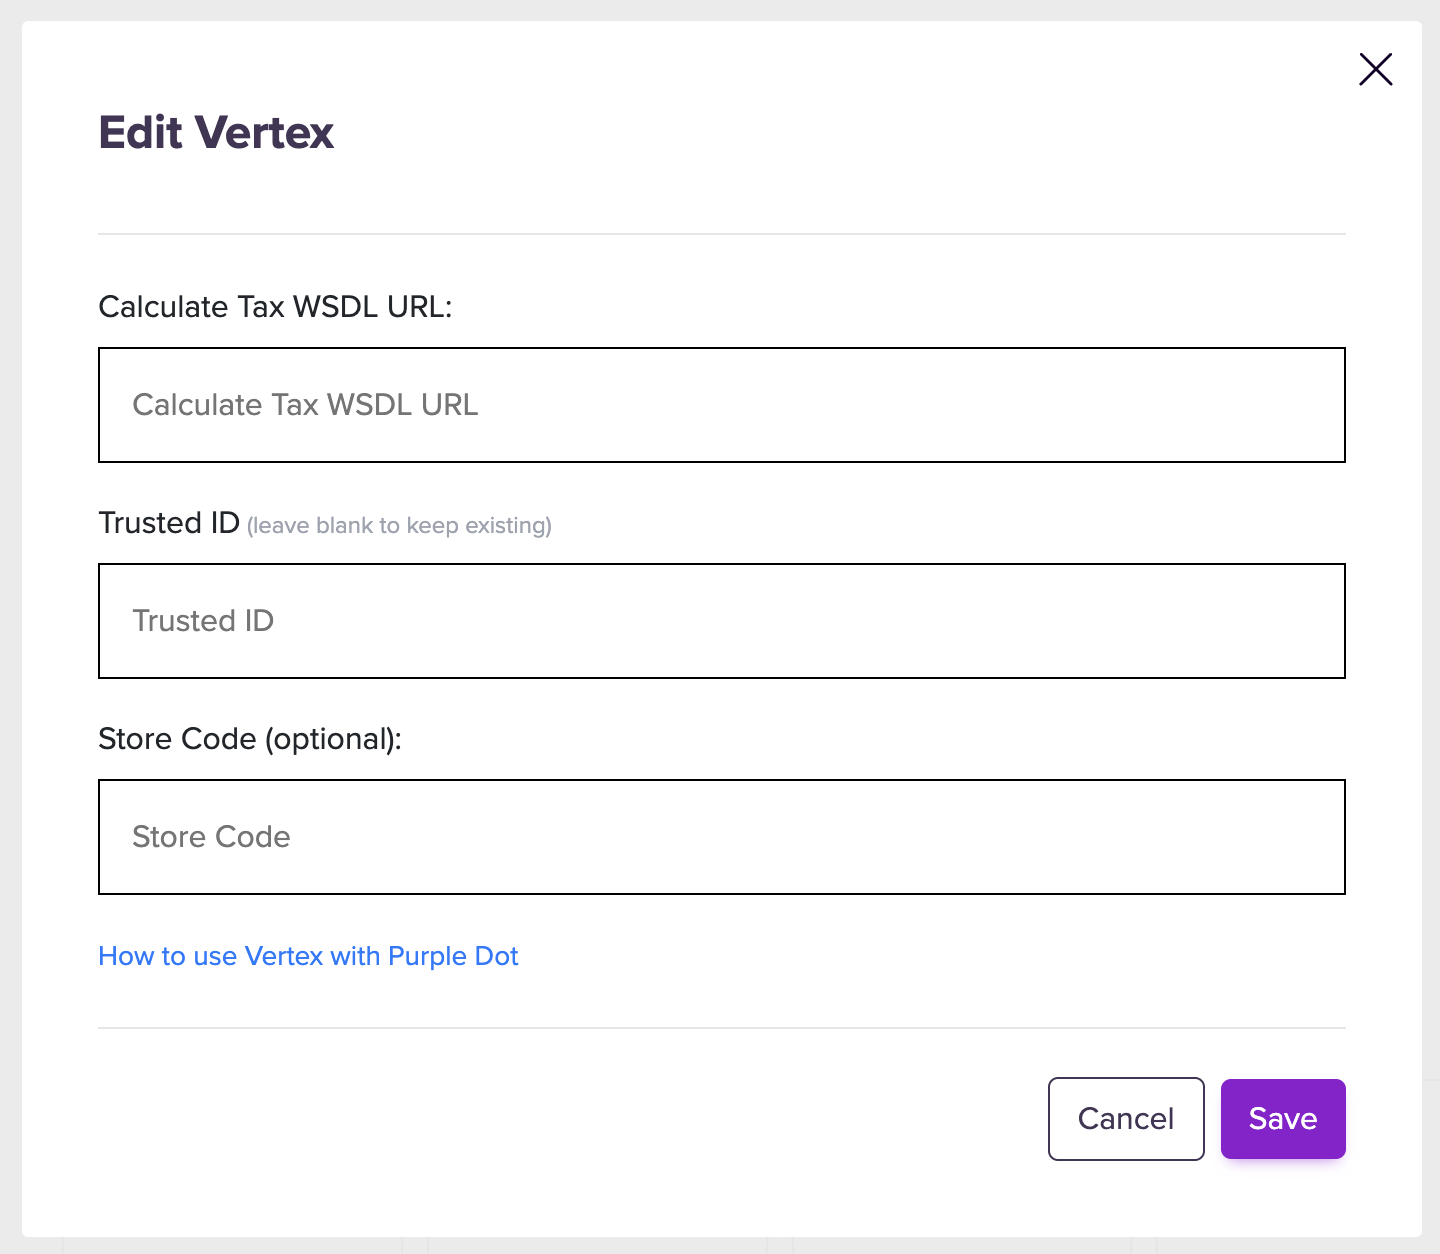
You need to provide a Trusted ID, which will be used by Purple Dot for connecting to your Vertex account. You can find it if you log into Vertex Cloud and select Settings > View All Connectors.
Paste the Trusted ID alongside with your unique Vertex WSDL URL
Configuring tax zones
The final step is to list all the markets where you want Purple Dot checkout to charge taxes.
Log in to the Purple Dot Merchant Portal.
Go to Settings → Taxes.
You can edit the Global zone to have Purple Dot use Vertex to calculate tax in all regions:
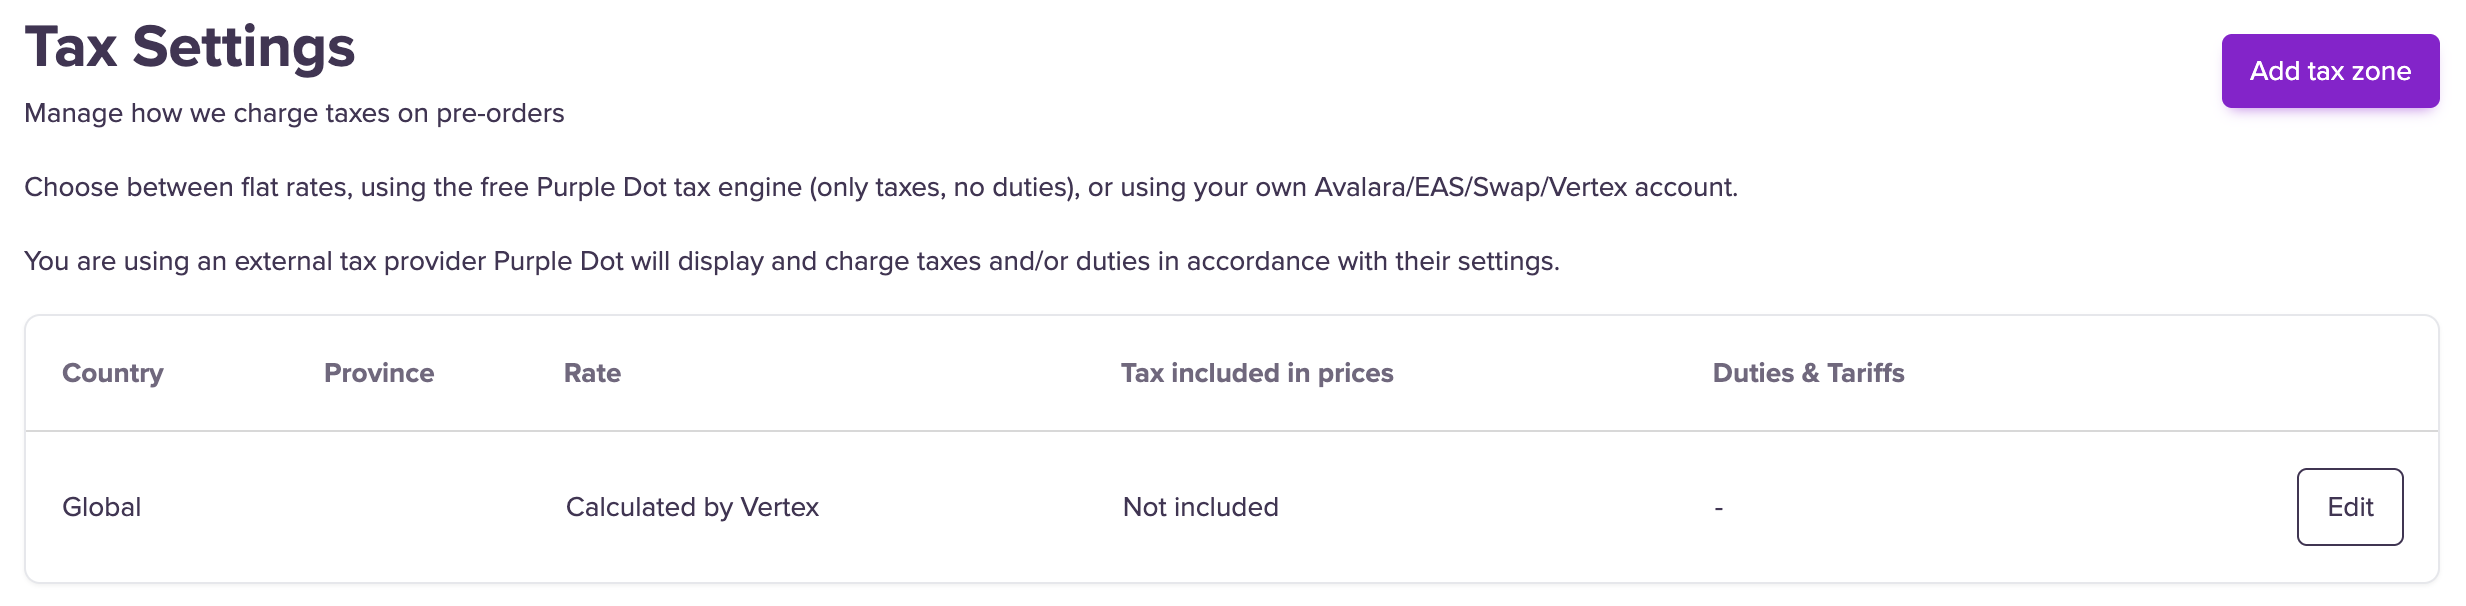
Or you add an explicit list of tax zones if you instead wanted Purple Dot to use Vertex in only some countries or if you wanted to use Vertex for some tax zones and another provider in other tax zones.